
Oh it's terrible! It's always been on the list to replace, but still as of late (like a couple of weeks ago when my son hurt his arm at daycare), this was still our set-up.

And I have been looking, browsing, trying to find something that I like that is reasonably priced to go in that spot. Everything is too expensive for what we can afford right now, but I seemed to be gravitating to things like this:

Crate and Barrel's Austin Media Console $999

Pottery Barn's Griffin Reclaimed Wood Media Console $1099

Restoration Hardware's Dutch Industrial Media Console at $1295
I finally found some inspiration on Centsational Girl blog, when she posted about IKEA's Vittsjo's line that can be spray painted and morphed in so many ways. She found pictures from West Elm, Ballard Designs, etc. and showed that the Vittsjo's pieces could be used to make most all of them.

Her images sat in my Pinterest board for a while, until I had time to scope out the Vittsjo's line and figured out what I would need. Then, it was time for a trip to IKEA and Home Depot! Luckily, my husband was willing to make the trip to Home Depot with me, to pick out the type of wood and size of boards that we would need to be most cost effective and we wouldn't have too many wasted scraps. We ended up buying the wood that comes on the shelf like this:

It's down the lumber aisle, neatly stacked together with boards that could be used for shelving.

All the DIY projects at our house, end up becoming my husband's project for at least some or most of the project life. I really try to do it myself, but I seem to always be the idea girl. This time, I assembled all three Vittsjo pieces myself and played around with stacking them in different ways, to see which layout I liked the best. I only needed the metal frames for this project, so I stacked the glass, that comes with each unit, together under our bed.


We decided to make one complete table first to see how would look. This way we could get the stain the exact color we wanted and figure out exactly what would be needed to complete the project, before we got to assembling the entire thing. He cut the board for the new table top, stained, and assembled the board to the metal. He was able to use the pre-drilled holes in the metal frame to attach the board to the frame, but needed a bit longer screws.

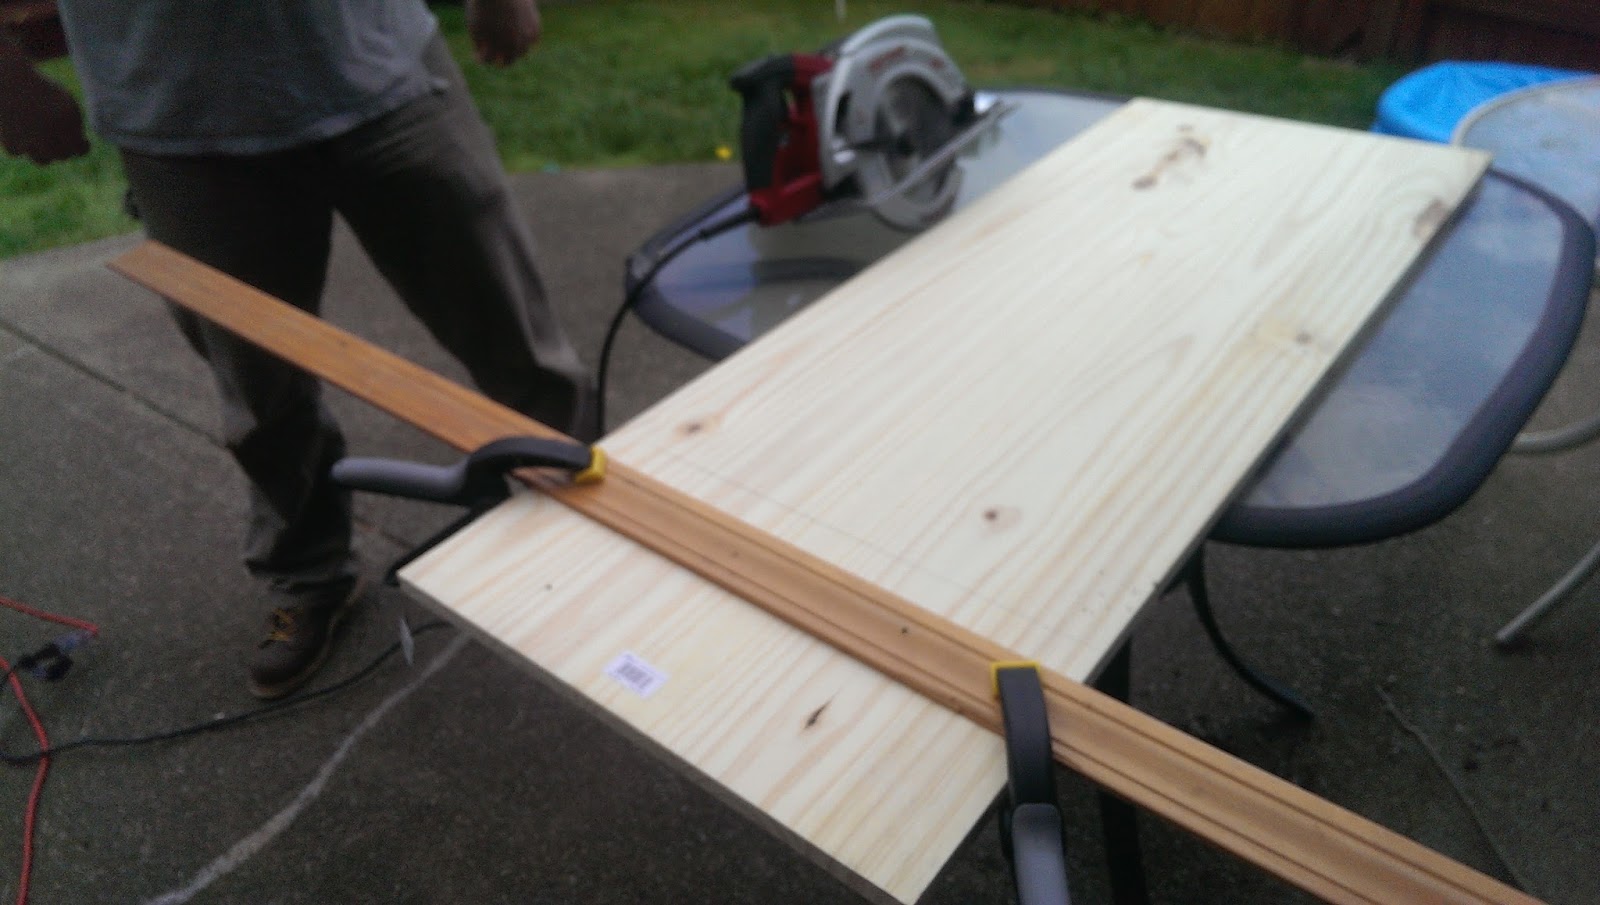
Using a piece of baseboard trim to make a straight cut.


Using the pre-drilled holes to attached the metal frame to the wood.
When we liked the "finished" product, so we got to work on the rest of the wood and pieces. I conditioned (using the method that Young House Love recommended), stained, and sealed all the wood tops.

Used a combo of these two colors (Minwax's Golden Pecan and Dark Walnut) to achieve the desired look.

Putting the wood conditioner on
The husband figured out which metal pieces would stay and which would need to be cut out. The tricky part was make sure it was still stable, as when some of the pieces were removed, it seemed it would be wobbly.


What helped to make everything more secure was using L brackets to attach each piece together. So one L bracket would be drilled into the wood itself and also into the metal frame. Most were placed in the back of the media console, so when the baskets would be in, they wouldn't be visible.

When it was all said and done, here is the new media console, in place in our family room. It holds our XBOX, the sound bar, our awesome TV antenna, record player, my son's DVDs, some of our favorite or need to watch soon DVDs, and our Nintendo (yes, the original one) and its games.


In the end, between the wood, the stain and conditioner, and the shelves, I would say we spent about $250 on this media console. Not bad considering the price of the others I was looking at!
The only thing that would need to be fixed is the feet of the console. They are rough unfinished edges from the cutting off of the metal, so that is something you could make sure to complete or we just have little bits of rag under there now protecting the carpet. Hope you like our IKEA hack using the Vittsjo line.